


Creating a depth-of-field effect by blurring the background in Photoshop is a popular way to give an image a professional look, similar to a photograph taken with a wide-aperture lens. This step-by-step guide will show you how to achieve that effect using the "Duplicate Image," "Select Subject," "Content-Aware Fill," and "Gaussian Blur" methods. Let’s dive into the detailed process:
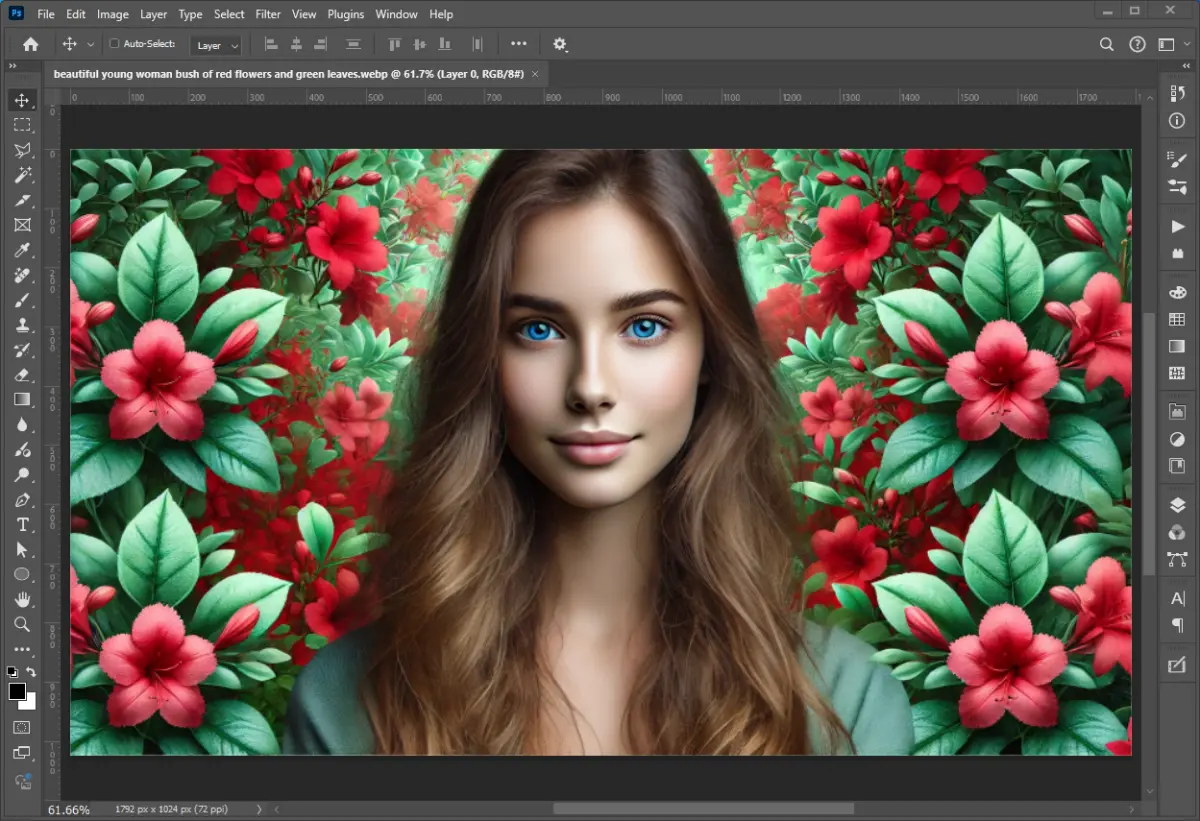
Start by opening your image in Photoshop.
In the Layers panel, right-click on the original image layer and select Duplicate Layer.
Name the duplicated layer (e.g., "Blurred Background") to stay organized.
This duplicated layer is where the background blur will be applied, while the original layer remains unchanged, allowing you to easily revert if needed.
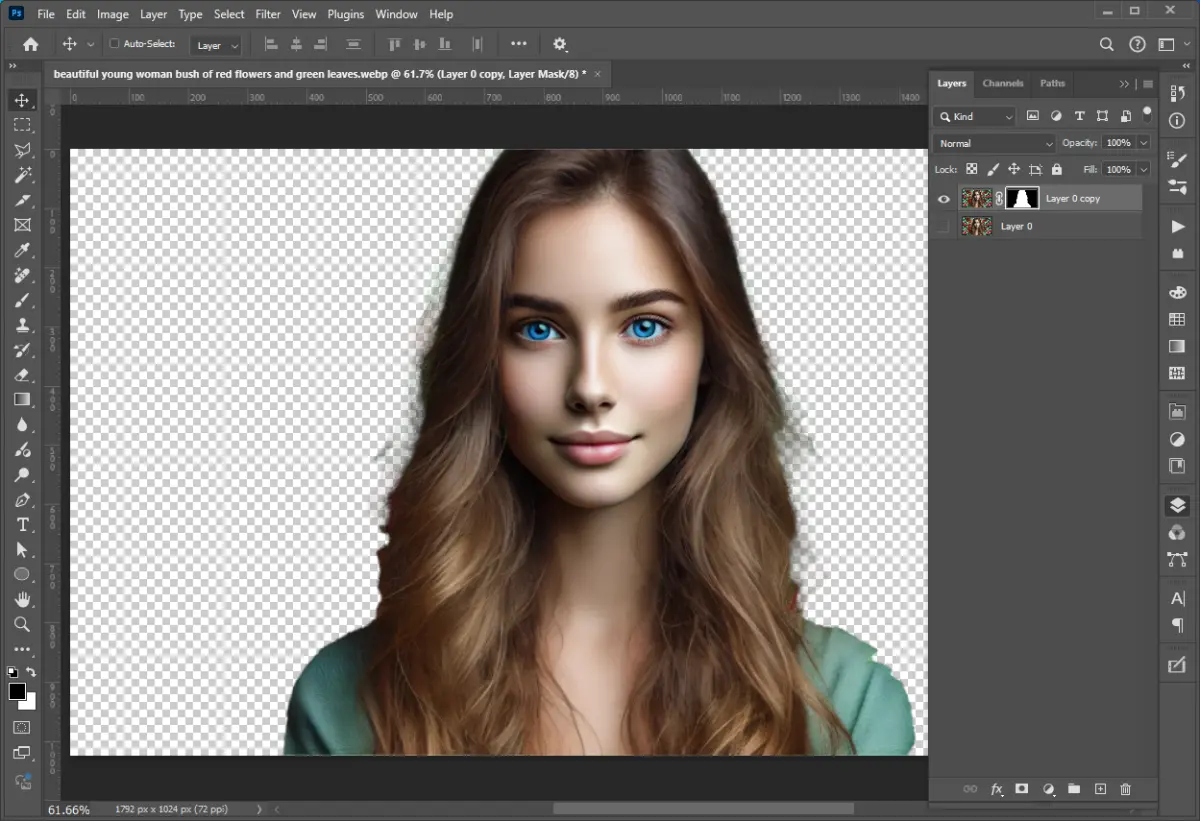
Go to Select > Subject. Photoshop will automatically detect the primary subject in your image and create a rough selection around it. This selection might not be perfect, but we’ll refine it shortly.
Click on Select and Mask (found at the top menu or on the options bar). This opens a window where you can refine the selection.
Use tools like the Refine Edge Brush Tool (great for hair and edges) and the Brush Tool to make sure the subject selection is as accurate as possible.
Set the Output To option to Layer Mask and click OK. This creates a mask around the subject on the duplicated layer.
With the "Blurred Background" layer selected, hold down Ctrl (Cmd on Mac) and click on the subject mask thumbnail. This will create a selection around the subject.
Go to Select > Modify > Expand. Expand the selection by 5-10 pixels to ensure the subject edges are smoothly blended with the background after the blur.
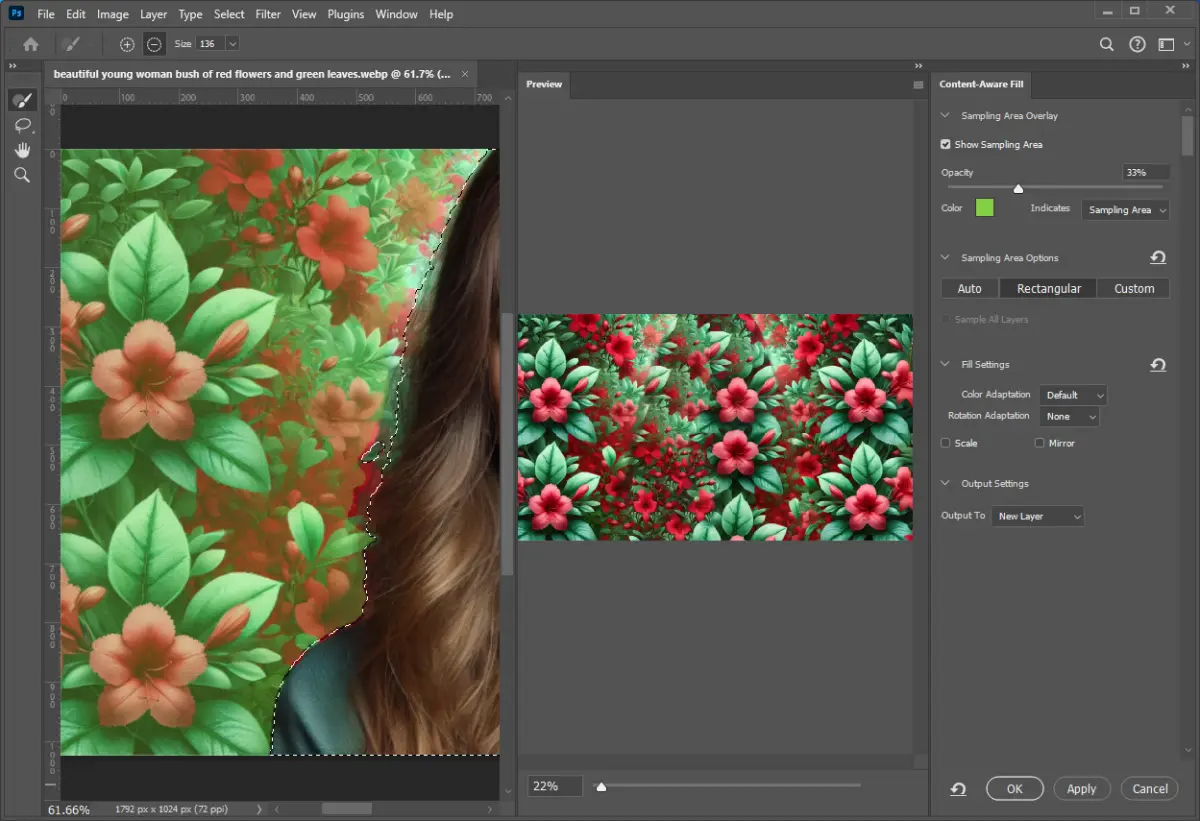
With the subject selected, go to Edit > Content-Aware Fill.
Photoshop will fill in the selected area based on the surrounding pixels, removing the subject from the duplicated layer to create a clean background.
Review the preview to ensure the background looks natural. Click OK, then Deselect (Ctrl+D or Cmd+D) once done.
Note: Content-Aware Fill might not be perfect for every image, so you may need to touch up certain areas with the Clone Stamp Tool or Healing Brush Tool if there are visible artifacts.
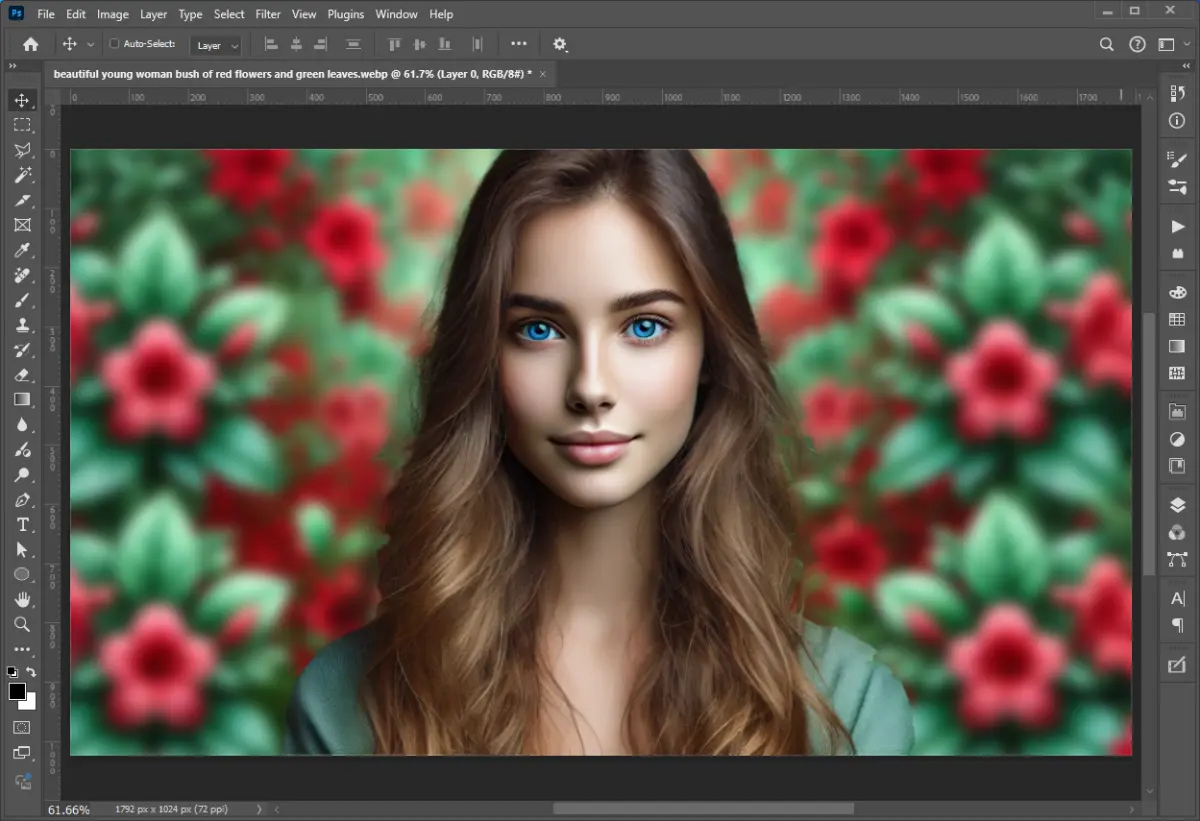
With the "Blurred Background" layer selected (make sure you’re on the image, not the mask), go to Filter > Blur > Gaussian Blur.
Adjust the Radius slider to control the intensity of the blur. A higher radius creates a stronger blur, which simulates a more shallow depth of field.
Keep an eye on your subject to ensure they remain in focus while the background is sufficiently blurred. You can toggle the blur on and off by previewing different radius values until you achieve the look you want.
If you notice any hard edges around the subject, you can smooth them out.
Go to the Properties panel (with the mask selected) and adjust the Feather slider slightly. This will soften the edge, helping the subject blend more naturally with the background blur.
If you want even more control over the blur effect, you can use Filter > Blur Gallery > Field Blur. This tool allows you to create different levels of blur at different points in the image, creating a more realistic depth of field.
Save the edited image as a PSD file to preserve layers and masks for future edits.
Go to File > Export > Export As and save your image in the desired format (e.g., JPEG, PNG) with the depth-of-field effect applied.
Layer Mask Adjustments: If the mask appears too sharp, use a soft brush on the mask to touch up areas around the subject.
Fine Detail: Pay attention to edges, especially in areas with hair or intricate details, as these require more precise masking for a realistic effect.
Experiment with Blur Radius: Adjust the Gaussian Blur settings to find the most realistic level for your particular image.
By following these steps, you should end up with a beautiful depth-of-field effect that makes your subject pop while keeping the background softly blurred, giving your image a professional, DSLR-like quality.
Contact forms are essential elements for any modern website. They not only help your visitors reach out to you directly but also provide a professional touch to your online
Buttons are fundamental components of web forms, enabling users to interact with the webpage by submitting data, resetting fields, triggering JavaScript functions, or
The Pen Tool in Adobe Illustrator is one of the most powerful tools for creating custom shapes and paths. Mastering it can significantly enhance your design skills, allowing
As PHP evolves, certain functions become outdated and are eventually deprecated. This means they are no longer recommended for use because they may be removed in future
Photoshop’s “Select and Mask” tool is an incredibly powerful feature that allows users to achieve professional-level background removal. Whether you’re editing
In the realm of WordPress Web Development , mastering the creation of custom themes is a must-know skill. Custom themes offer unparalleled flexibility, allowing you to tailor
A responsive navigation menu is essential for ensuring smooth and user-friendly navigation across devices. The way dropdown menus behave on desktop and mobile can
Mixing PHP and HTML efficiently is essential for PHP website development, ensuring clean, readable, and maintainable code. Whether you're working on a dynamic website, a CMS,
Our online CSS beautifier & minifier is the professional choice for clean code. It offers customizable options for formatting, beautification, and minification. Enhance your CSS for optimal results now!
Our online HTML beautifier is the professional choice for cleaning up code. Compress & format HTML for improved structure and readability, with just a few clicks. Start beautifying today!
Design unique CSS gradients with our easy to use, professional generator. Choose colors and customize with advanced features. Lightweight for fast and optimized output!
Use our powerful sort words tool to arrange text by alphabetical order or character length. Many options available to format the output as desired. Clean up your lists now, quickly and easily!
Professional-grade text encoding and decoding is here with our advanced tool. Sophisticated features and capabilities for all your complex data transformation needs. Start now!
Our lightweight CSS filter generator lets you create CSS filters using hex values with multiple advanced options. Get the perfect look for your elements with this powerful & efficient tool!
Extract email IDs from messy text with a single click using our professional tool. Lightweight & efficient, streamlines the process for you, saving time. Try now for effortless email extraction!
Our online Lorem Ipsum generator provides the best solution for your demo content needs. It offers many options, allowing you to create perfect placeholder text with precision. Get started now!
Our Website Development Service offers custom, responsive design, ensuring seamless user experience across devices. From concept to launch, we create dynamic, SEO-friendly sites to elevate your online presence and drive engagement.
Revamp your online presence with our Website Redesign Service! We specialize in creating modern, user-friendly designs that boost engagement and conversion rates. Transform your site today for a sleek, professional look that stands out.
Transform your PSD designs into pixel-perfect, responsive HTML5 code with our professional PSD to HTML5 conversion service. Enjoy clean, SEO-friendly, and cross-browser compatible code tailored to bring your vision to life seamlessly.
Elevate your brand with our professional Logo Design Service. We create unique, memorable logos that capture your business's essence. Stand out in the market with a custom logo designed to leave a lasting impression.
Boost your site's search engine presence! We offer expert SEO solutions, including image and code enhancements, to achieve top positions on Google, Bing, and Yahoo. Let us drive qualified traffic to your business today!
Boost your brand with our Social Media Marketing Service! We specialize in crafting engaging content, driving growth through targeted ads, and maximizing your online presence. Drive growth and connect with your audience effectively.
Experience our WordPress development services, offering tailored solutions for custom themes, plugins, and seamless integrations. Enhance your online presence with our responsive, secure, and success-optimized WordPress solutions.
Enhance your website's visual appeal: We sharpen icons/images, correct RAW files & repair damaged/distorted/overly bright photos. Expect natural-colored, high-resolution JPEGs, complete with photographic effects & upscaling.

Introduction In today's digital age, having a well-optimized website is crucial for businesses and individuals alike. A website that loads quickly, is easy to navigate, and provides a seamless user experience can greatly...
Introduction Graphic design is a dynamic and creative field that requires the right tools to bring your visions to life. While there are many high-end paid software options available, not everyone can afford...

HTML5 Semantic Elements have become an important factor in improving SEO rankings due to their ability to provide search engines with more meaningful information about the content of a webpage. These elements go...

JavaScript extended libraries offer a wide range of capabilities for creating interactive and dynamic elements on websites. With these libraries, you can easily incorporate features such as drop-down menus, popups, modals, banner sliders,...
Colors are an incredibly important factor in website design, because they can have a significant effect on user experience and engagement. Colors create visual stimulation, which can influence how users process information. Using...
If you want your website and graphic designs to capture attention, incorporating exceptional fonts is a must! Incorporating elegant typefaces has the capacity to bring your design up a notch, making it more...

In the ever-evolving landscape of digital marketing, Search Engine Optimization (SEO) remains an important strategy for increasing organic traffic and increasing a website's online visibility. However, as search engines continually refine their algorithms...
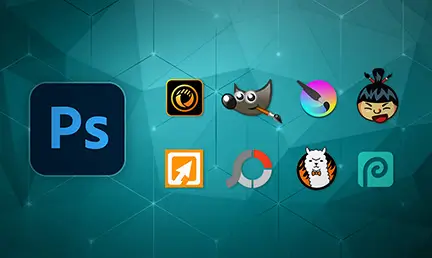
Adobe Photoshop is a prominent software in image editing and retouching, offers a variety of functionalities. However, it might not be the ideal choice for all users due to several drawbacks. Its interface,...

