


Adobe Illustrator is a powerful tool for artists and designers, offering a wide range of features to create stunning vector artwork. One of the most versatile and creative tools within Illustrator is the Paintbrush Tool. This comprehensive tutorial will guide you through the intricacies of using the Paintbrush Tool, including brush strokes, brushes library, variable width profile settings, and tips for achieving the best brush results.
The Paintbrush Tool in Adobe Illustrator is a versatile feature that allows artists to create freeform paths and apply various brush strokes to these paths. It is an essential tool for adding artistic flair and unique styles to your vector artwork.
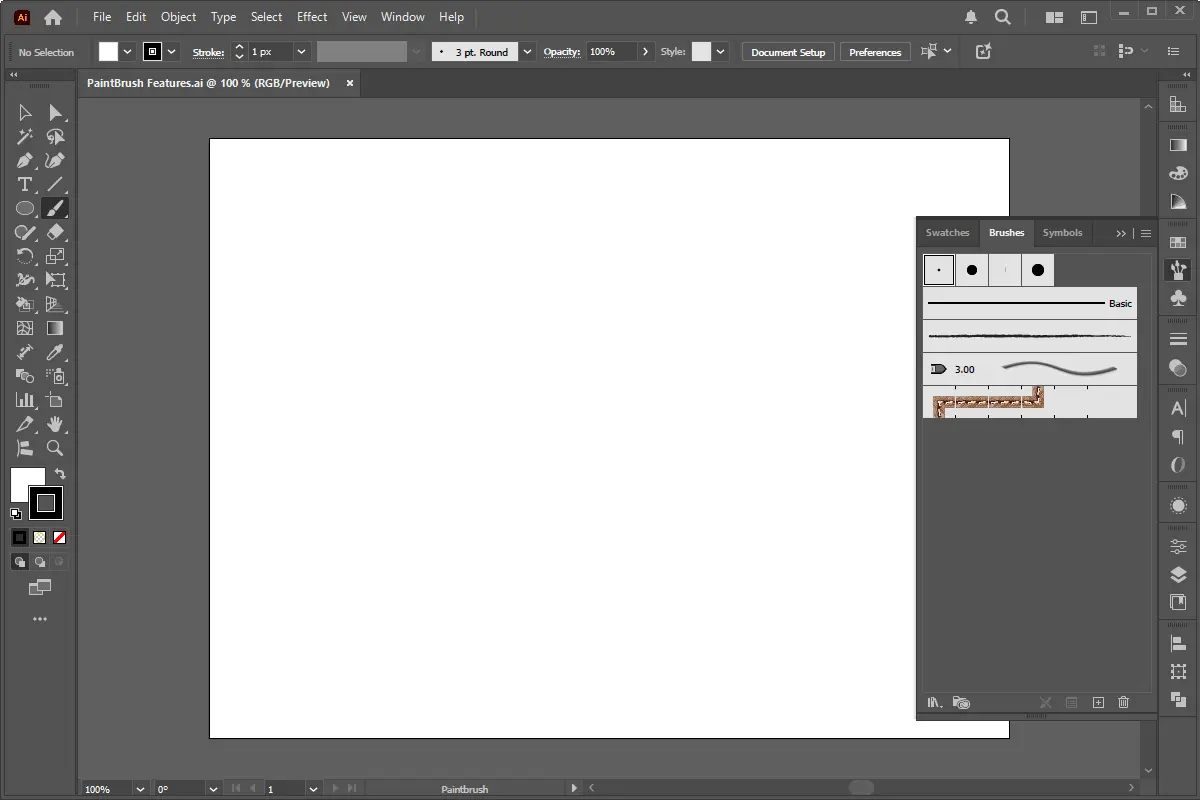
To access the Paintbrush Tool, follow these steps:
Brush strokes in Adobe Illustrator are essentially paths that have been modified by a brush. These brushes can be customized to create different effects, such as calligraphic, scatter, art, and pattern brushes.
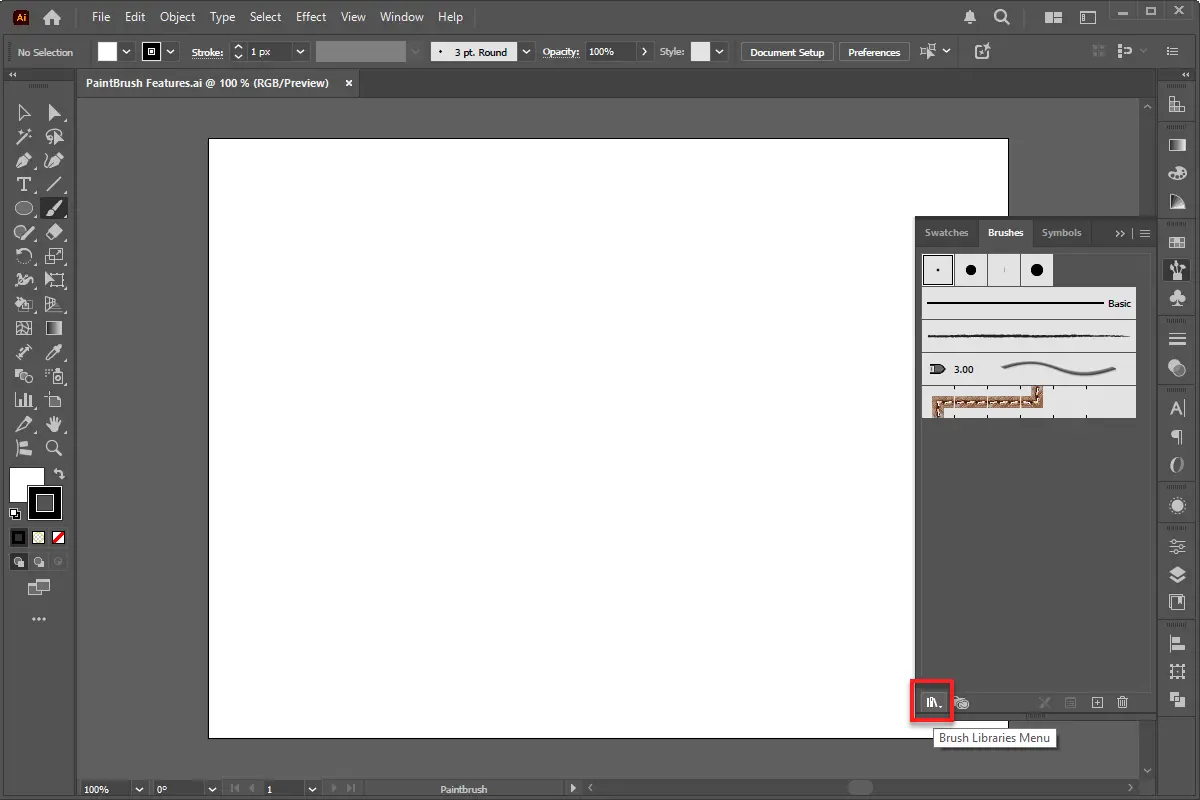
Adobe Illustrator comes with a rich library of pre-designed brushes that you can use to enhance your artwork.
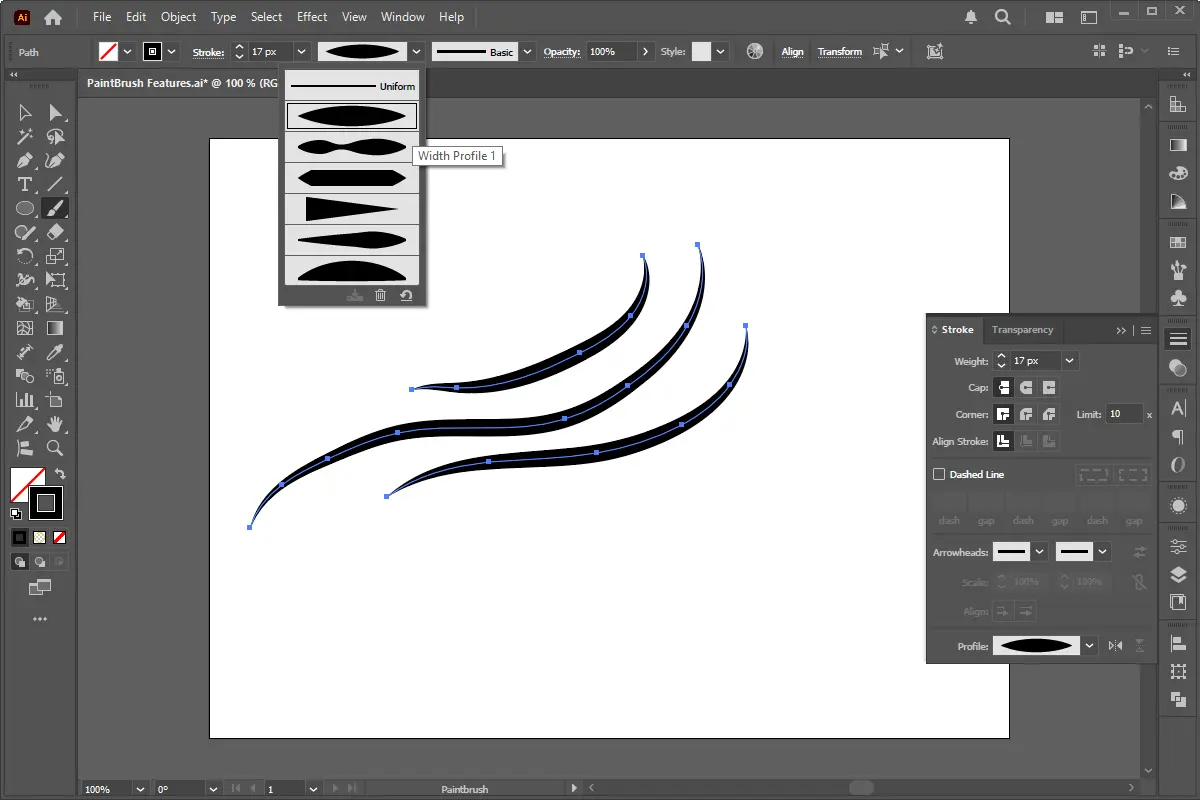
Variable Width Profiles allow you to create dynamic and expressive brush strokes by varying the width of the stroke along its path.
Achieving the best results with brushes in Adobe Illustrator requires a combination of technique and creativity. Here are some tips to help you get the most out of your brush strokes:
The Paintbrush Tool in Adobe Illustrator is a powerful and versatile feature that can significantly enhance your vector artwork. By understanding brush strokes, exploring the brushes library, mastering variable width profile settings, and following the tips provided, you can unlock the full potential of the Paintbrush Tool and create stunning, dynamic artwork.
With this comprehensive tutorial, you now have the knowledge and skills to use the Paintbrush Tool effectively and creatively. Happy designing!
Photoshop’s “Select and Mask” tool is an incredibly powerful feature that allows users to achieve professional-level background removal. Whether you’re editing
Adobe Illustrator is a powerful vector graphics editor that offers a wide range of tools and features to help designers create precise and visually appealing artwork. In this
In today’s modern web development landscape, delivering interactive and responsive interfaces is key to engaging users. In this tutorial, we’ll build a vertical tab
In modern web development, enhancing user interaction through dynamic effects is essential. jQuery is a powerful library that simplifies the process of adding these effects,
HTML5 introduced the element, making it simple to embed MP4 videos directly into web pages without relying on third-party plugins like Flash. This built-in support enhances
HTML5 is the backbone of modern web development, providing a structured and semantic way to create web pages. However, many beginner developers unknowingly write incorrect
Photoshop brushes are powerful tools for digital artists, enabling them to mimic traditional painting techniques and create unique textures. Whether you're designing
In modern web development, integrating a real-time digital clock using jQuery enhances user experience and interactivity. Whether used in dashboards, admin panels, e-commerce
Our online CSS beautifier & minifier is the professional choice for clean code. It offers customizable options for formatting, beautification, and minification. Enhance your CSS for optimal results now!
Our online HTML beautifier is the professional choice for cleaning up code. Compress & format HTML for improved structure and readability, with just a few clicks. Start beautifying today!
Design unique CSS gradients with our easy to use, professional generator. Choose colors and customize with advanced features. Lightweight for fast and optimized output!
Use our powerful sort words tool to arrange text by alphabetical order or character length. Many options available to format the output as desired. Clean up your lists now, quickly and easily!
Professional-grade text encoding and decoding is here with our advanced tool. Sophisticated features and capabilities for all your complex data transformation needs. Start now!
Our lightweight CSS filter generator lets you create CSS filters using hex values with multiple advanced options. Get the perfect look for your elements with this powerful & efficient tool!
Extract email IDs from messy text with a single click using our professional tool. Lightweight & efficient, streamlines the process for you, saving time. Try now for effortless email extraction!
Our online Lorem Ipsum generator provides the best solution for your demo content needs. It offers many options, allowing you to create perfect placeholder text with precision. Get started now!
Our Website Development Service offers custom, responsive design, ensuring seamless user experience across devices. From concept to launch, we create dynamic, SEO-friendly sites to elevate your online presence and drive engagement.
Revamp your online presence with our Website Redesign Service! We specialize in creating modern, user-friendly designs that boost engagement and conversion rates. Transform your site today for a sleek, professional look that stands out.
Transform your PSD designs into pixel-perfect, responsive HTML5 code with our professional PSD to HTML5 conversion service. Enjoy clean, SEO-friendly, and cross-browser compatible code tailored to bring your vision to life seamlessly.
Elevate your brand with our professional Logo Design Service. We create unique, memorable logos that capture your business's essence. Stand out in the market with a custom logo designed to leave a lasting impression.
Boost your site's search engine presence! We offer expert SEO solutions, including image and code enhancements, to achieve top positions on Google, Bing, and Yahoo. Let us drive qualified traffic to your business today!
Boost your brand with our Social Media Marketing Service! We specialize in crafting engaging content, driving growth through targeted ads, and maximizing your online presence. Drive growth and connect with your audience effectively.
Experience our WordPress development services, offering tailored solutions for custom themes, plugins, and seamless integrations. Enhance your online presence with our responsive, secure, and success-optimized WordPress solutions.
Enhance your website's visual appeal: We sharpen icons/images, correct RAW files & repair damaged/distorted/overly bright photos. Expect natural-colored, high-resolution JPEGs, complete with photographic effects & upscaling.
Introduction In today's digital age, having a well-optimized website is crucial for businesses and individuals alike. A website that loads quickly, is easy to navigate, and provides a seamless user experience can greatly...
Introduction Graphic design is a dynamic and creative field that requires the right tools to bring your visions to life. While there are many high-end paid software options available, not everyone can afford...
HTML5 Semantic Elements have become an important factor in improving SEO rankings due to their ability to provide search engines with more meaningful information about the content of a webpage. These elements go...
JavaScript extended libraries offer a wide range of capabilities for creating interactive and dynamic elements on websites. With these libraries, you can easily incorporate features such as drop-down menus, popups, modals, banner sliders,...
Colors are an incredibly important factor in website design, because they can have a significant effect on user experience and engagement. Colors create visual stimulation, which can influence how users process information. Using...
If you want your website and graphic designs to capture attention, incorporating exceptional fonts is a must! Incorporating elegant typefaces has the capacity to bring your design up a notch, making it more...
In the ever-evolving landscape of digital marketing, Search Engine Optimization (SEO) remains an important strategy for increasing organic traffic and increasing a website's online visibility. However, as search engines continually refine their algorithms...
Adobe Photoshop is a prominent software in image editing and retouching, offers a variety of functionalities. However, it might not be the ideal choice for all users due to several drawbacks. Its interface,...

